Purify On-The-Go

Product Start-Up Guideline

When you first run water through the filter, the following steps are the most important.

Here’s a simple guide to help you use your portable filter with ease. Knowing what to do makes it much simpler!

Step 1: Locate the water inlet.

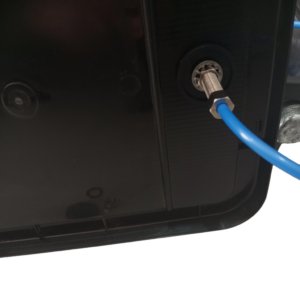
In the picture above you will see a fitting tightened to the container. It will be marked ‘water inlet’ with a sticker. This is the inlet of the filtration system, where water will enter from your given water source.

A valve has also been place on the inside of the crate, right after the inlet point. The reason for this is that when you finished using the filter, you can close that valave and it would prevent the water from inside the filter cartridges to leak out and spill on everything outside the crate.

Step 2: Water source input.

When you have located the water inlet, you will now move to the outside of the crate and see the other side of the water inlet fitting. 

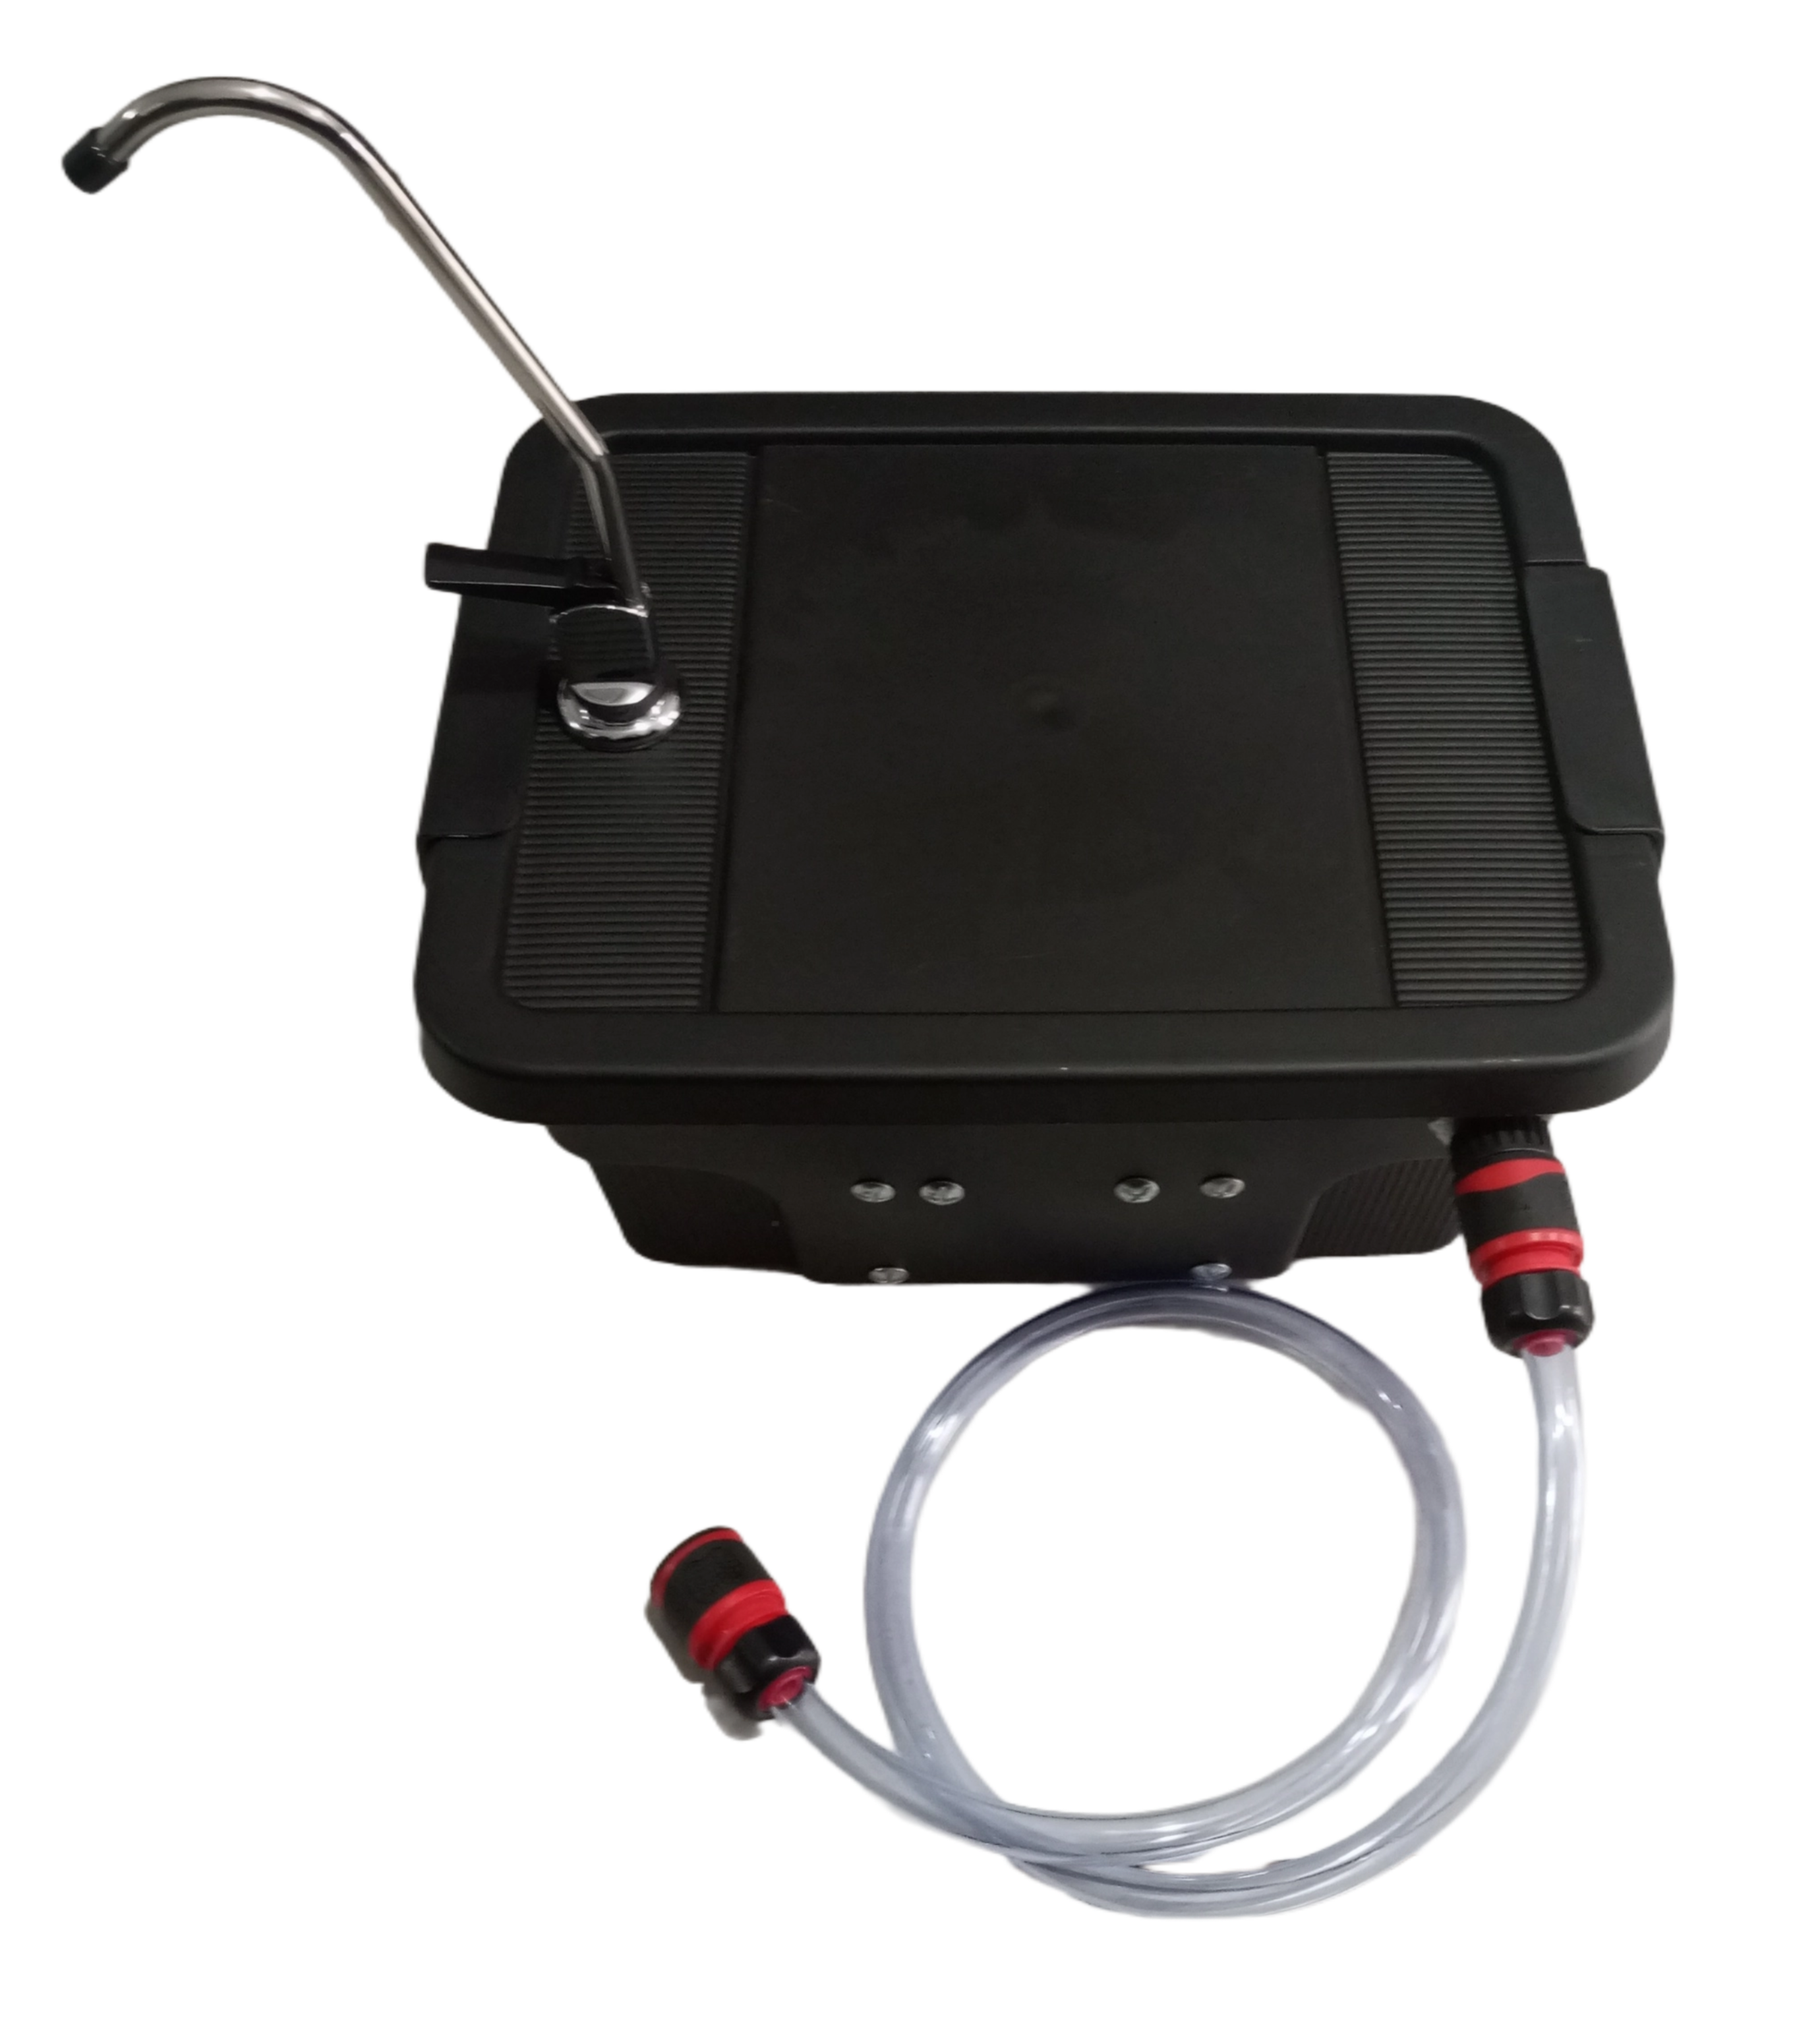
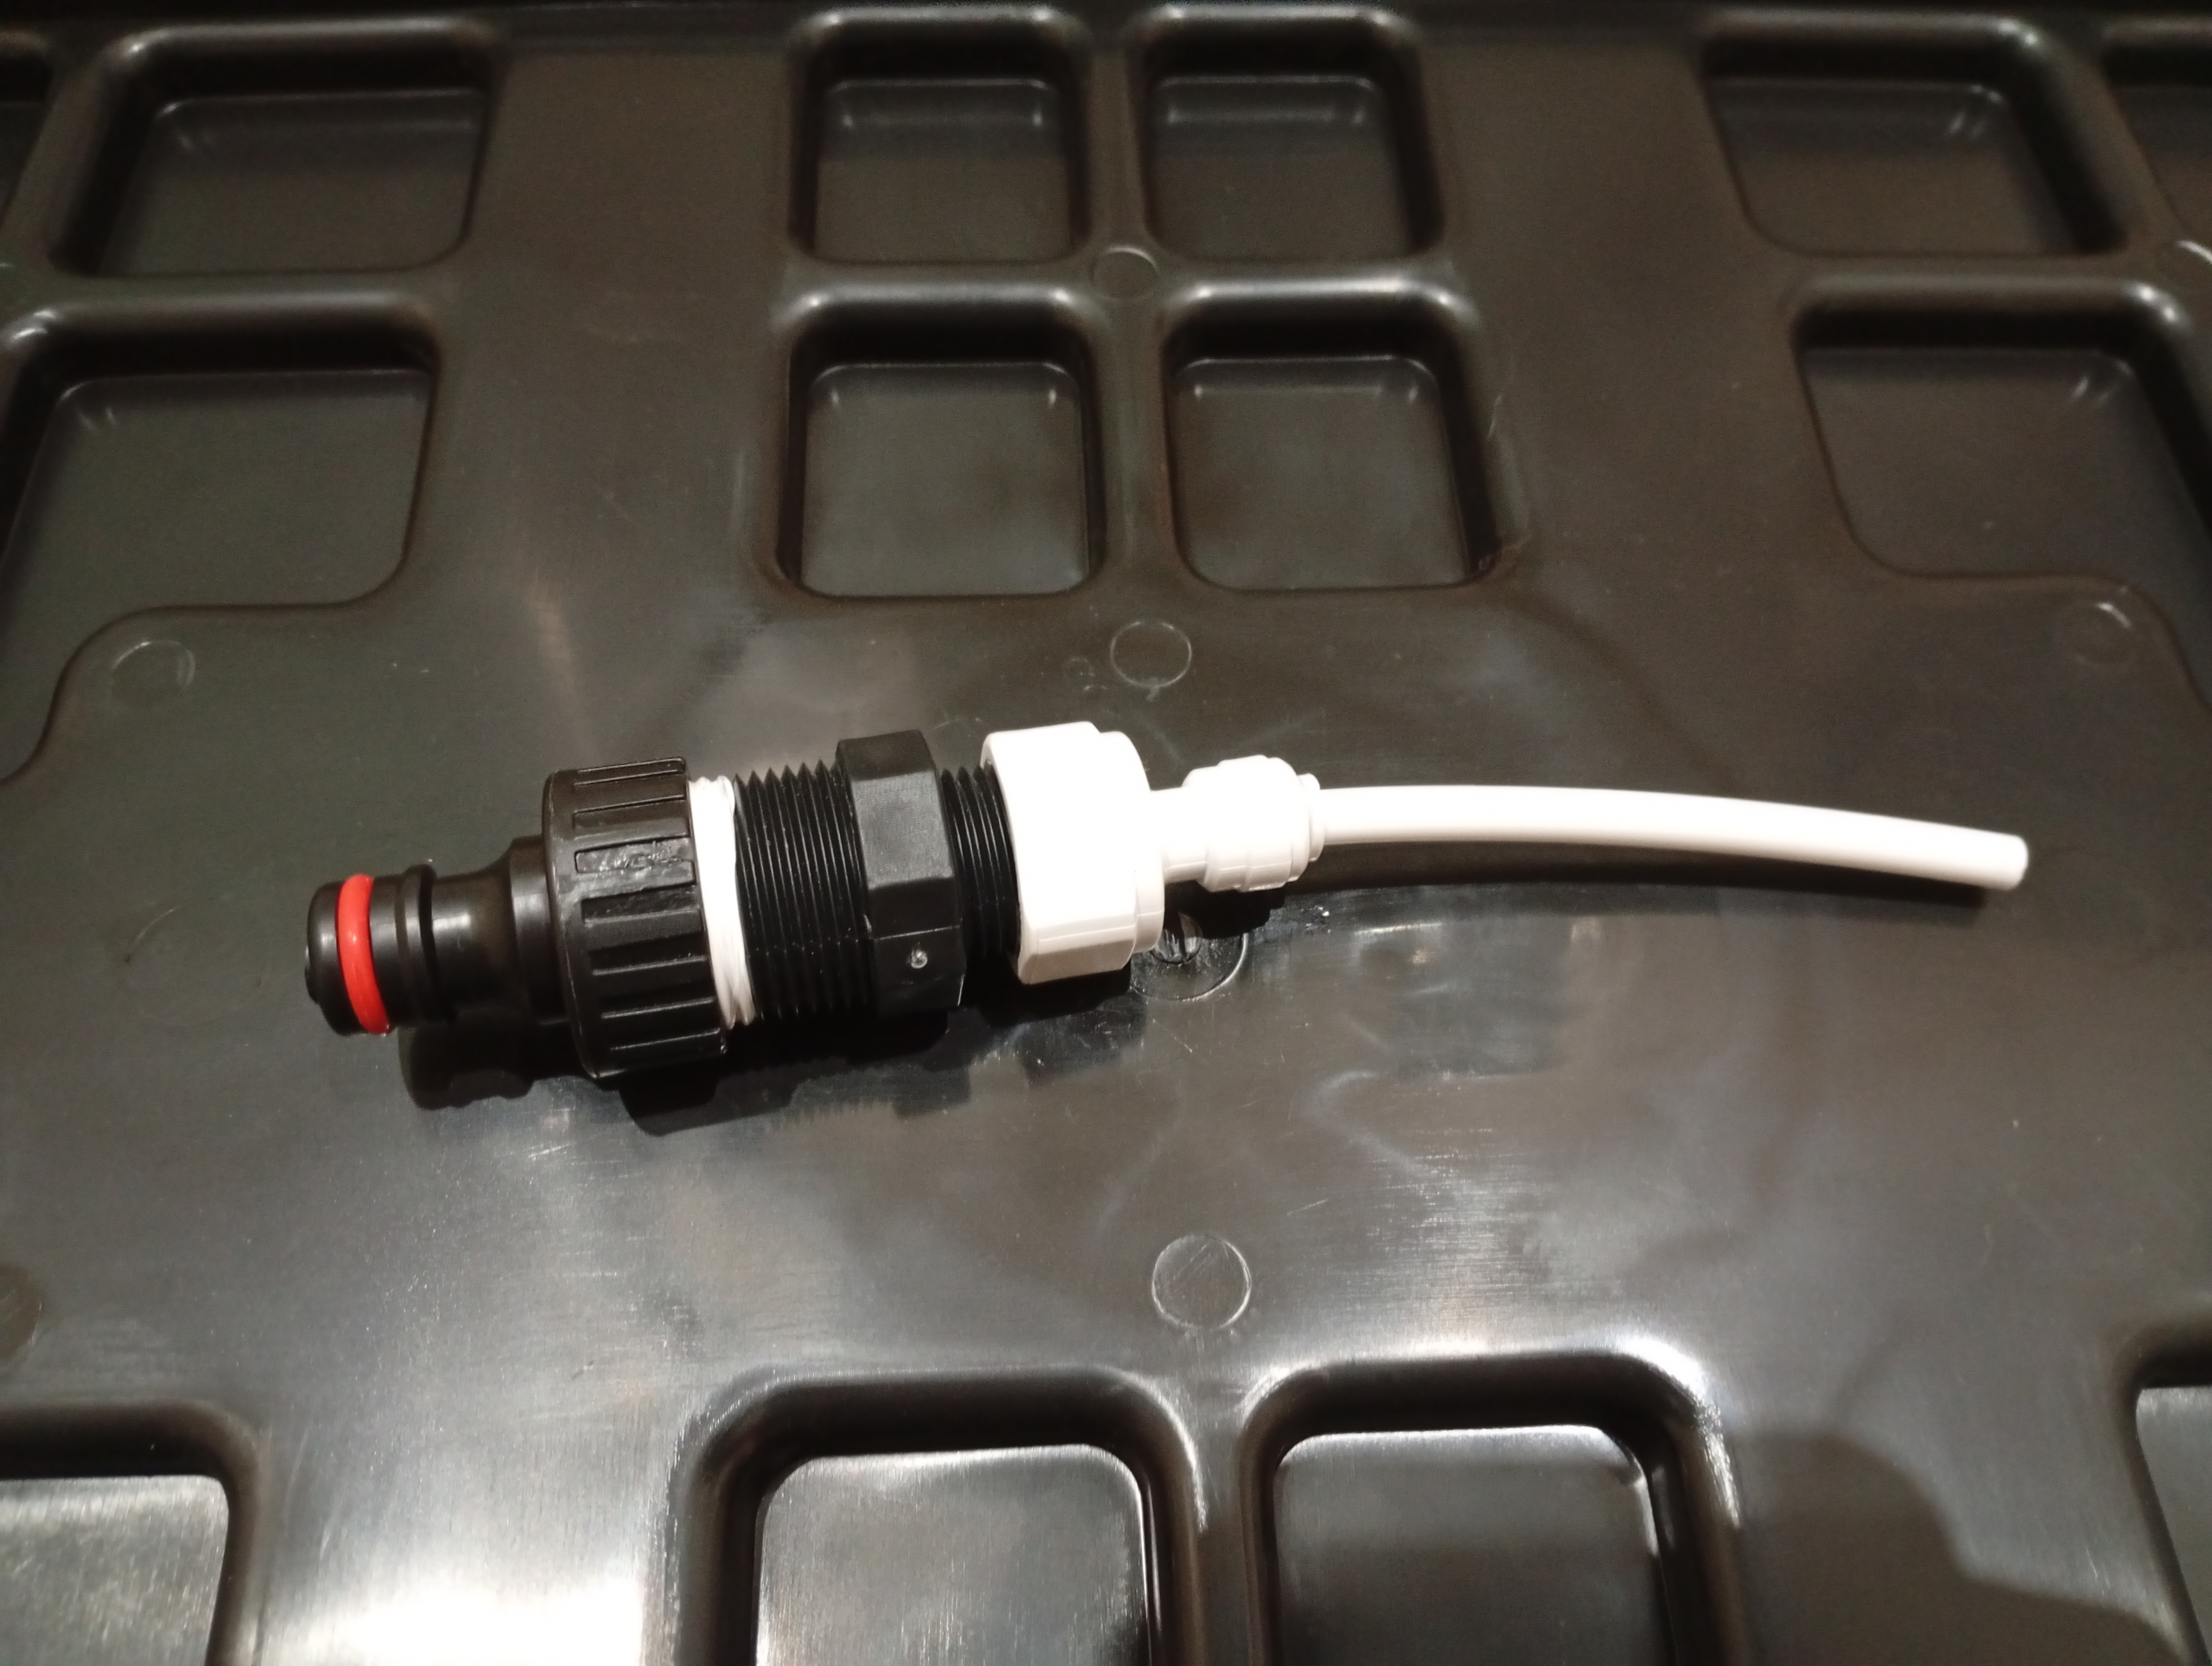
As seen in the photos above, you will see that there are adapters given to you which you can plug into the water inlet. 

Once you are done using these water using that specific water inlet, please remove it from the inlet. This will prevent fittings and adapters from breaking in the process of using the filtration system.

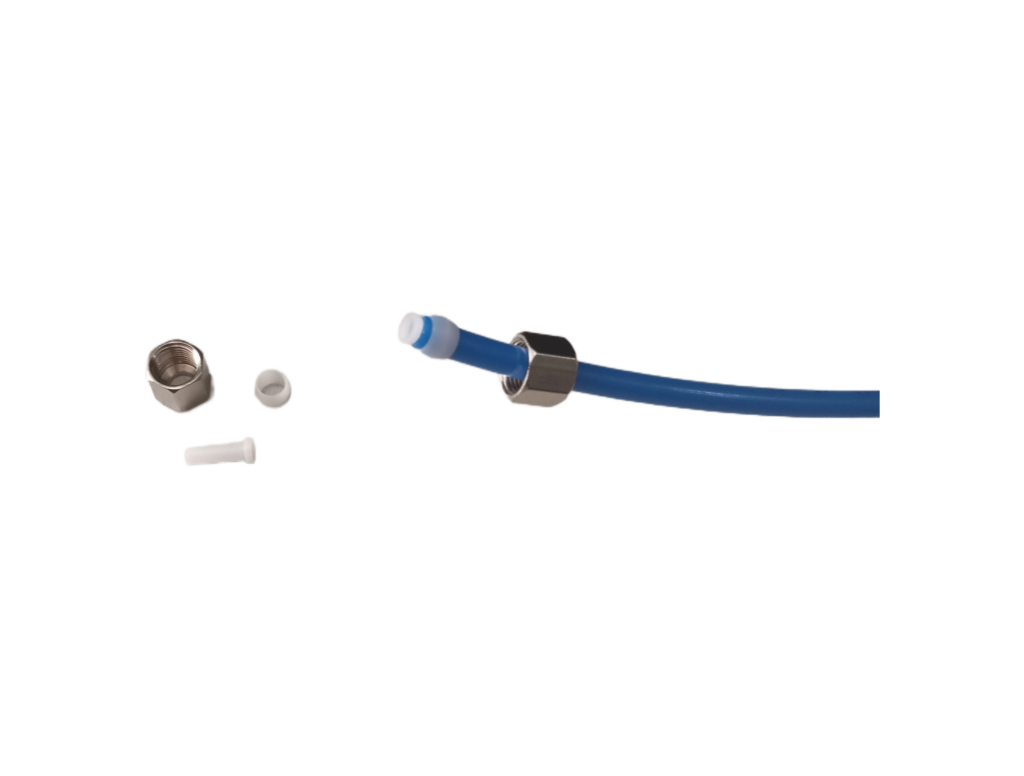
How to disconnect the pipe from the inlet:

1) Locate the Release Collar.

2) Push the Collar In:
Press and hold the white collar toward the fitting body with your fingers. You’ll need to apply steady pressure to compress the collar. This action releases the internal mechanism that grips the pipe.

3) Pull the Pipe Out:
While holding the collar in, gently pull the pipe away from the fitting. The pipe should slide out easily. If it doesn’t, ensure you’re pressing the collar firmly enough. Wiggling the pipe slightly while pulling can help.

Be prepared for a small amount of water to drip as the pipe is removed.

Step 3: Backwash

This is the heading

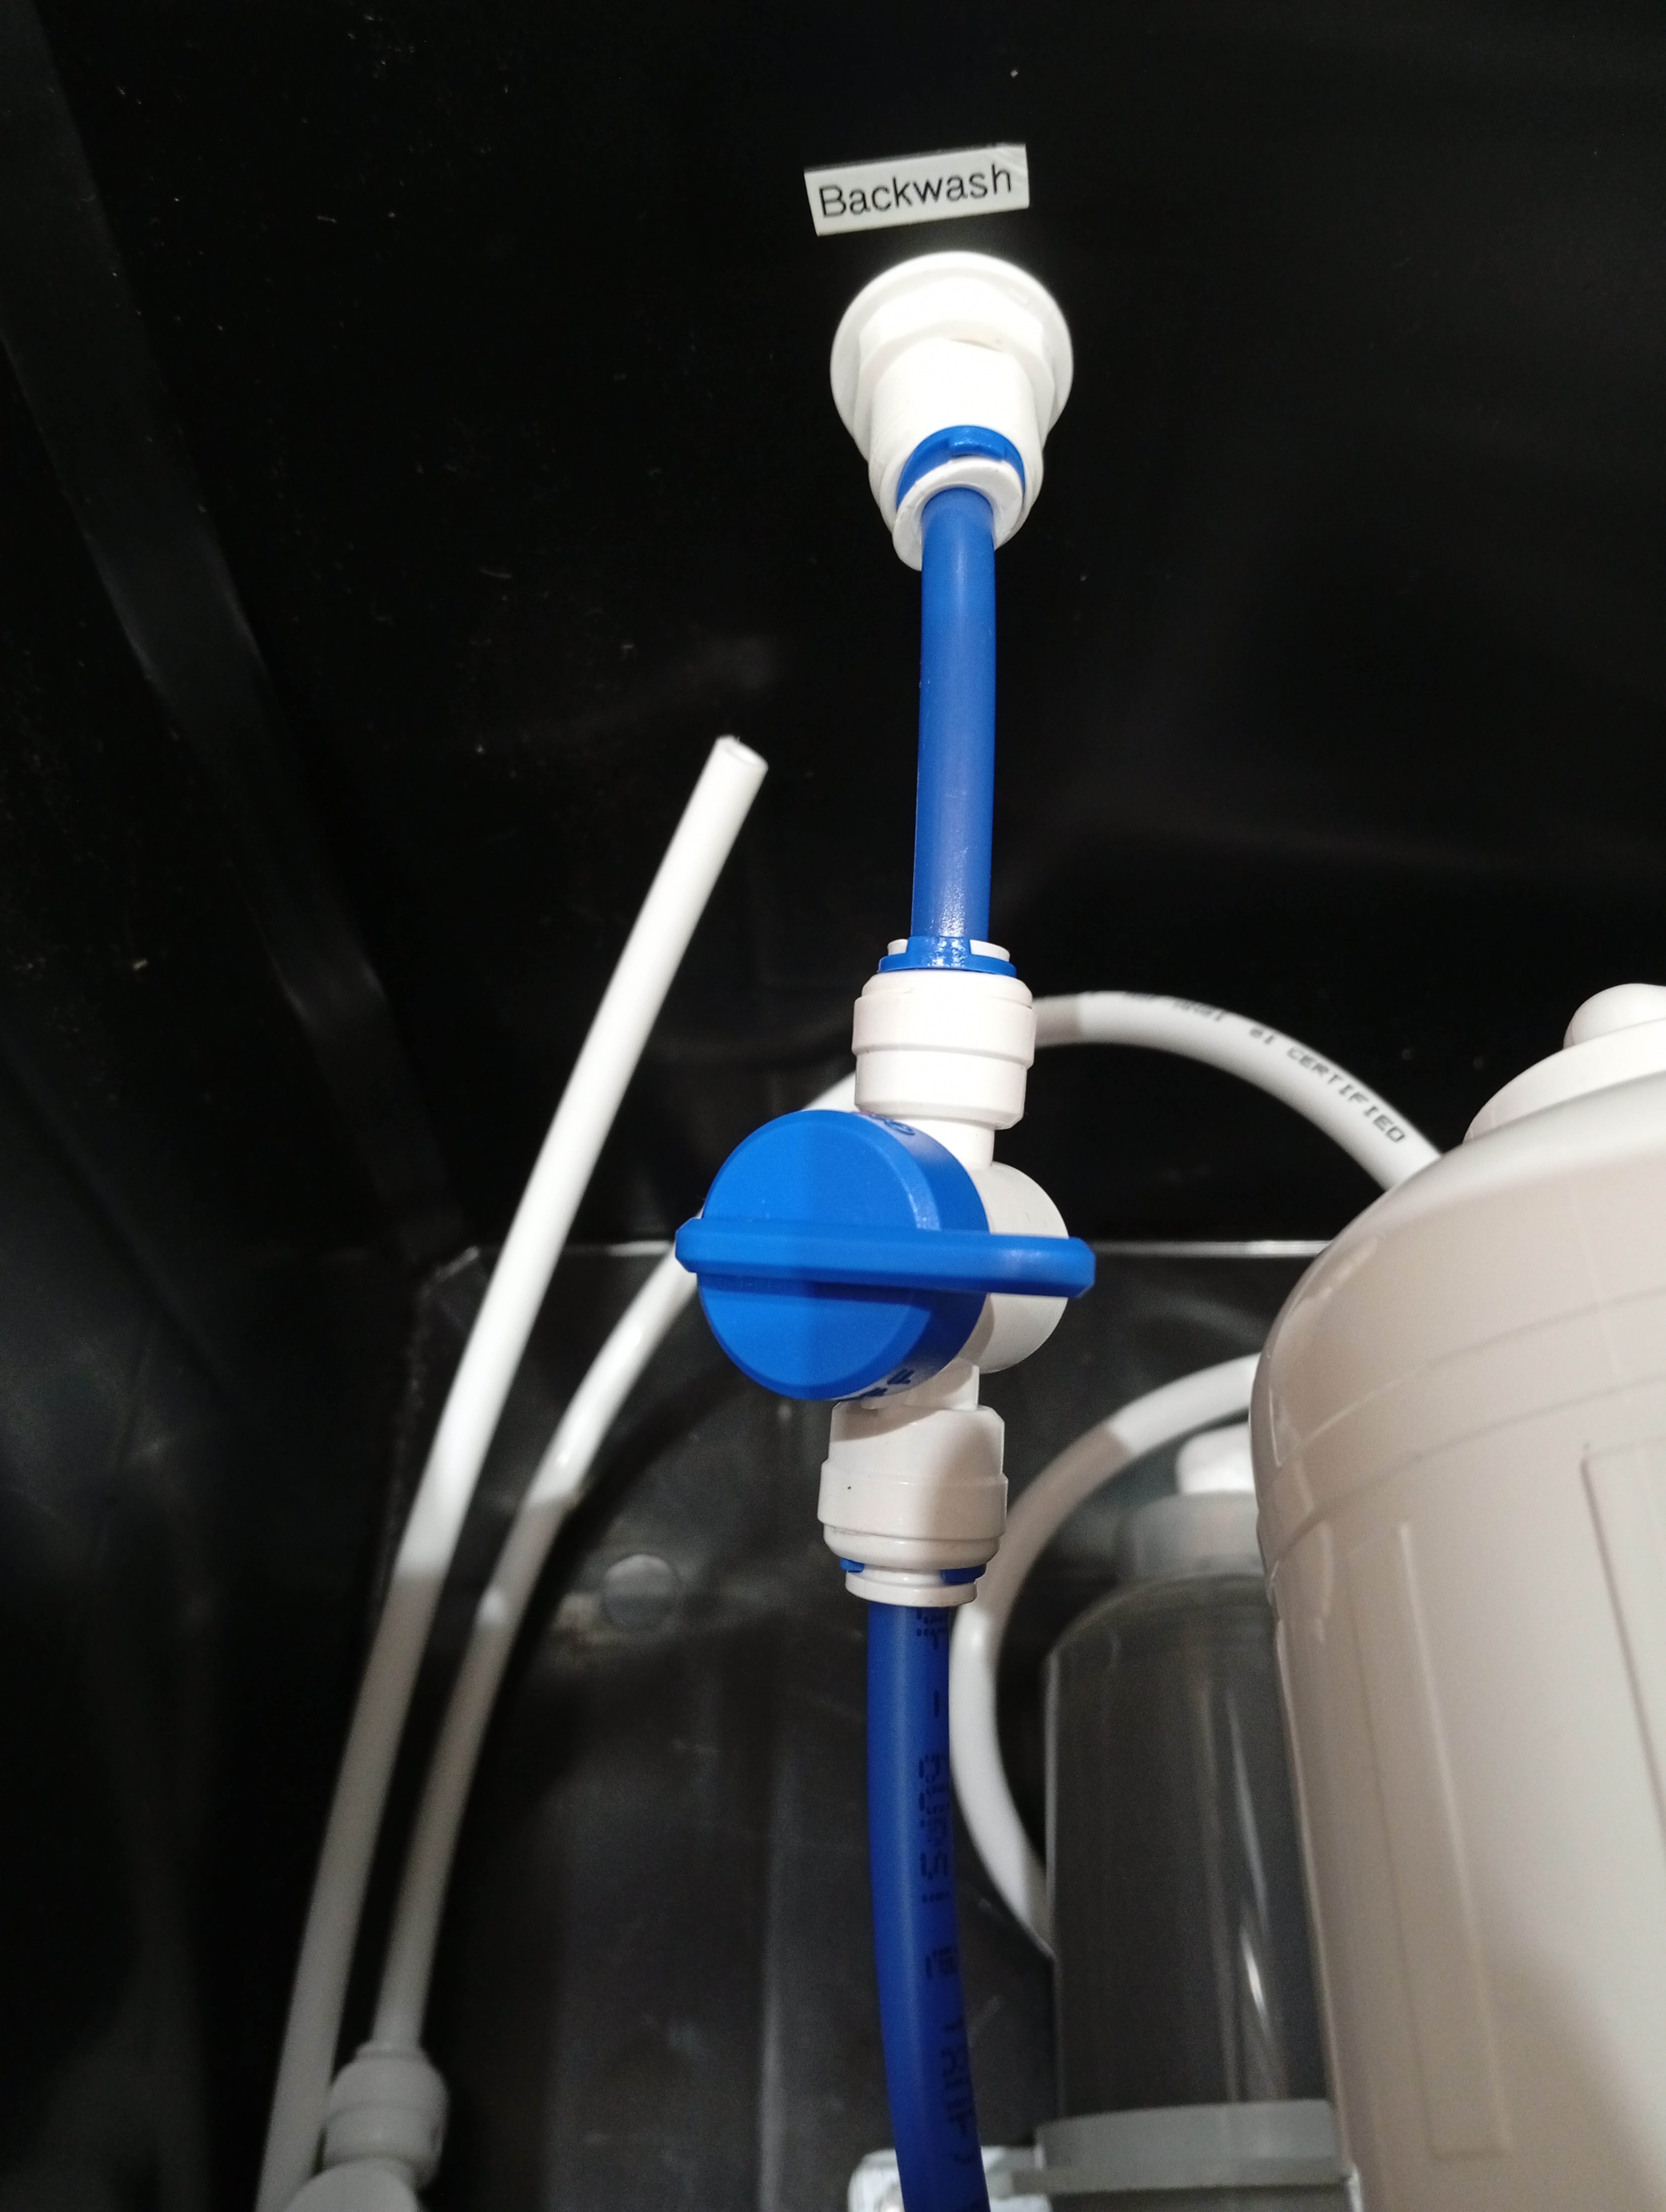
Once you have connected the the appropriate conectors to the inlet. Look at the opposite side to find the backwash OUTLET. It will be marked 'backwash' with a sticker. This fitting is there to assist with cleaning the filter it is connected to. Another way of identifying the backwash is with its unique pipe colour. In this case it is the colour blue, because it is the only blue pipe in the filtration system. Connected to the backwash outlet, you will also find a valve. When filtering water always make sure that this valve is closed, otherwise if it is not closed you will have a weak flow out of the faucet. When travelling, also keep this valve closed to prevent the water from inside the cartridges to spill on everything outside the crate. Only open this valve when wanting to flush out the debris from inside the cartridge it is connected to.
Step 4: Faucet Outlet

This is the heading

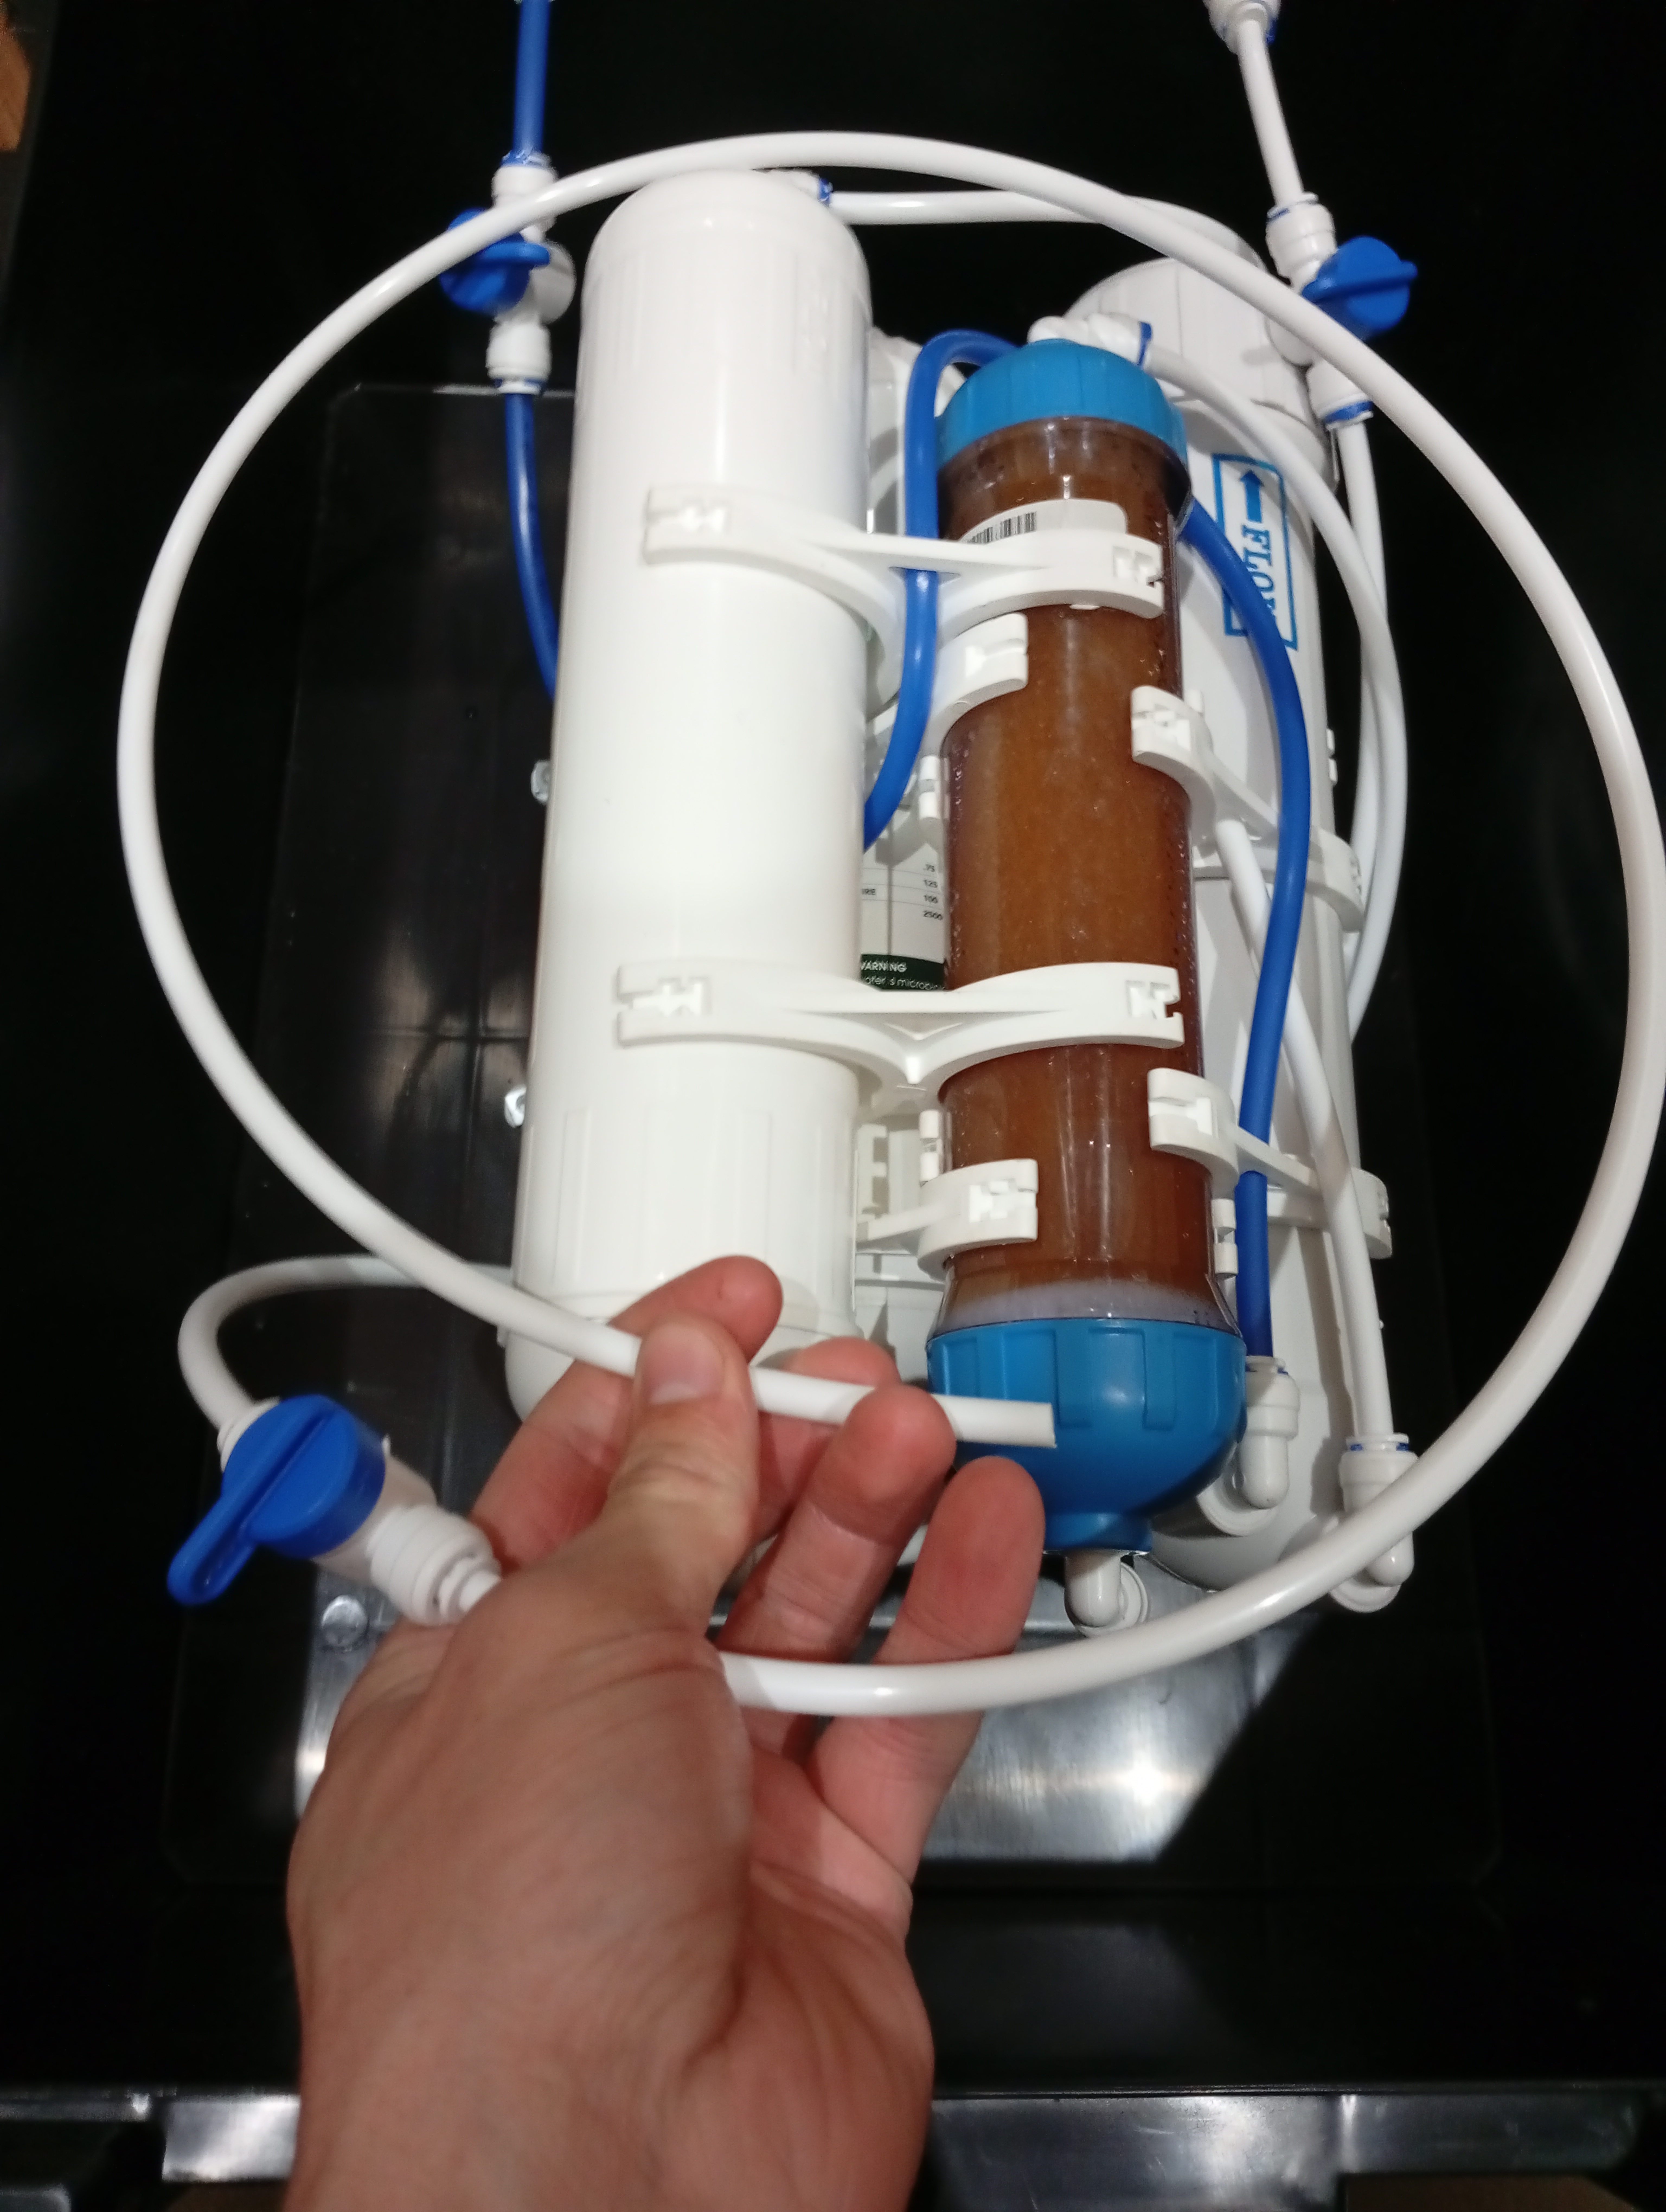
Locating the Outlet that you will connect to the faucet is easy. It is the only loose end in the crate as shown in the picture above. When you have located the faucet outlet, you fill find that it also has a valve connected. The main reason being is just to prevent the water inside in the cartridges to spill inside the crate.
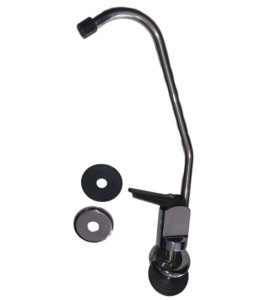
Step 5: Installing the Faucet

Within your filter crate you will find a white box inside that contains the faucet

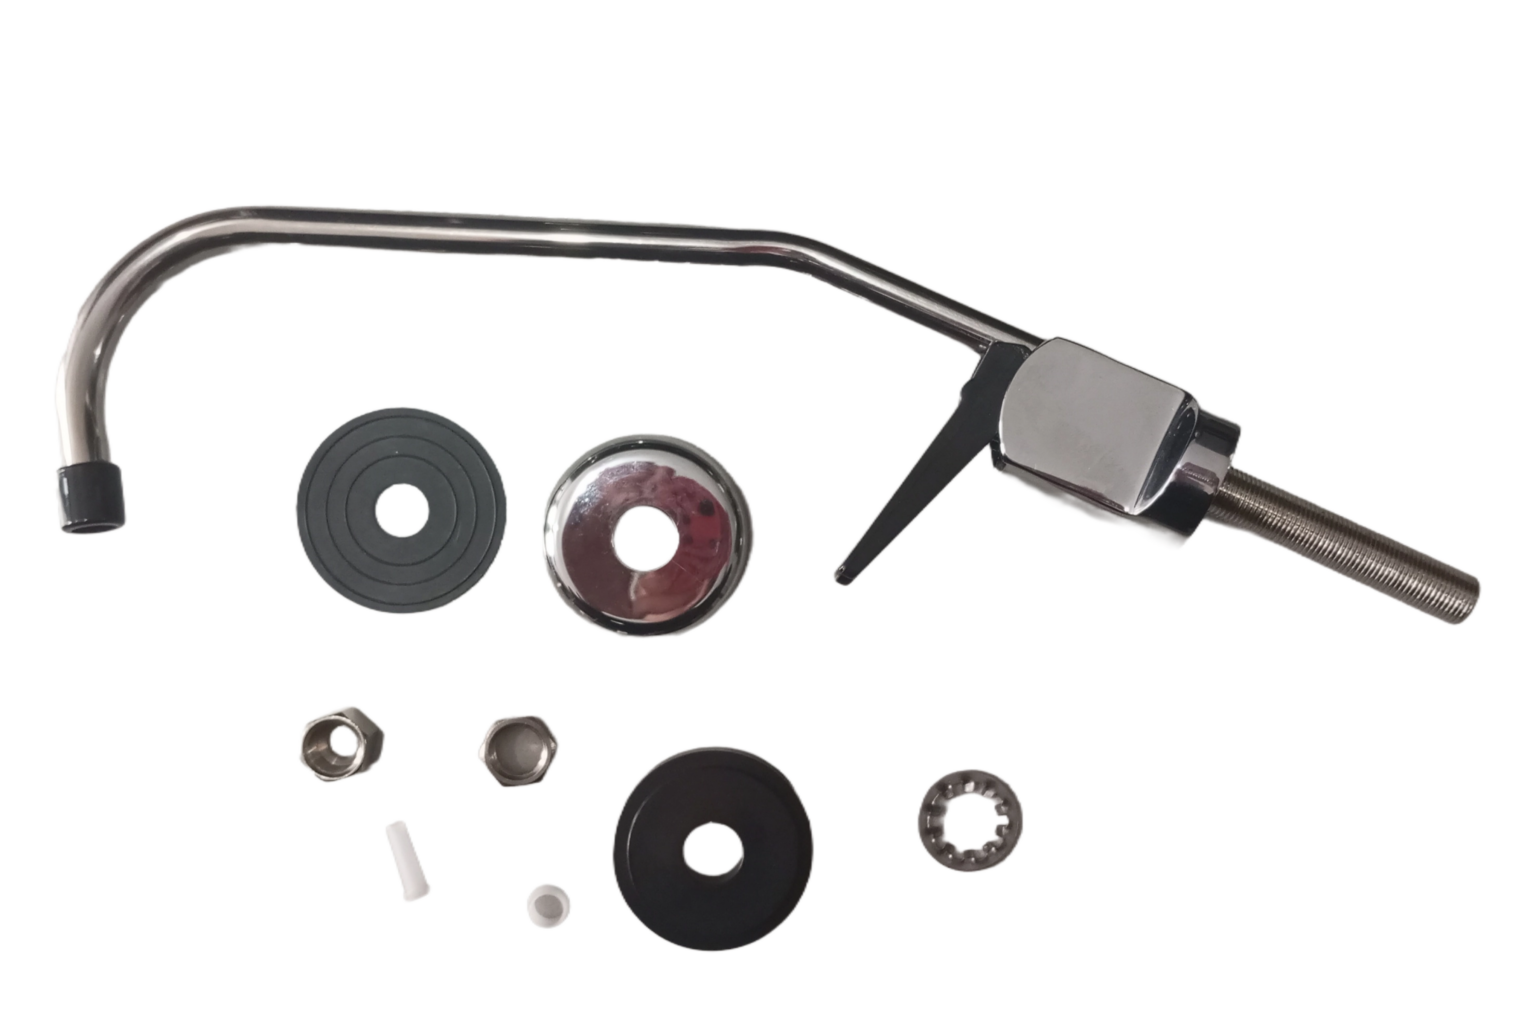
Inside this box, you’ll find the faucet/tap for your filter, along with its fittings.

Here’s how to install the fittings:

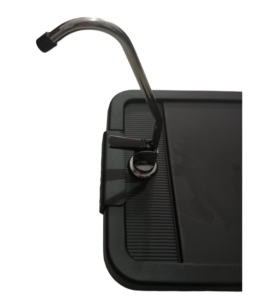
  1. The first picture shows the faucet/tap with all its fittings.
  2. The second picture shows the fittings that need to be attached to the faucet/tap.
  3. The third picture shows the fittings that go on the filtration pipe.
  4. The fourth picture shows the fittings that connect the lid of the portable filter to the faucet and the filtration pipe.
  5. The fifth and final picture shows the fully installed faucet/tap.

Ensure that the faucet is not attached to the pipe connected to the valve, as this valve is for backwashing and should not be used for drinking. The backwash valve is solely for flushing the filters after use, which helps prolong the life of your filters.

Step 6: Running Water through the Filtration System

This is the heading

Once the five steps above have been completed, you can open the tap at your home to run water through the portable filter. However, avoid fully opening the tap, as the combination of a strong water flow and air can damage the filters. Only after the air has been let out you may open the faucet to get a reasonable amount of pressure to give you a satisfactory stream of filtered water flowing out of your faucet.


At this point, your filtration system is operational. Simply run 4 to 5 liters of water through the system to flush out any dust or residues, removing manufacturing particles or loose carbon from the cartridges.

After running through 4 to 5 liters through the system, you may now drink the water from the faucet

Your filter has now been set-up and is now up and running

Handré du Preez

Hello, How can I assist you today?

Purify On-The-Go